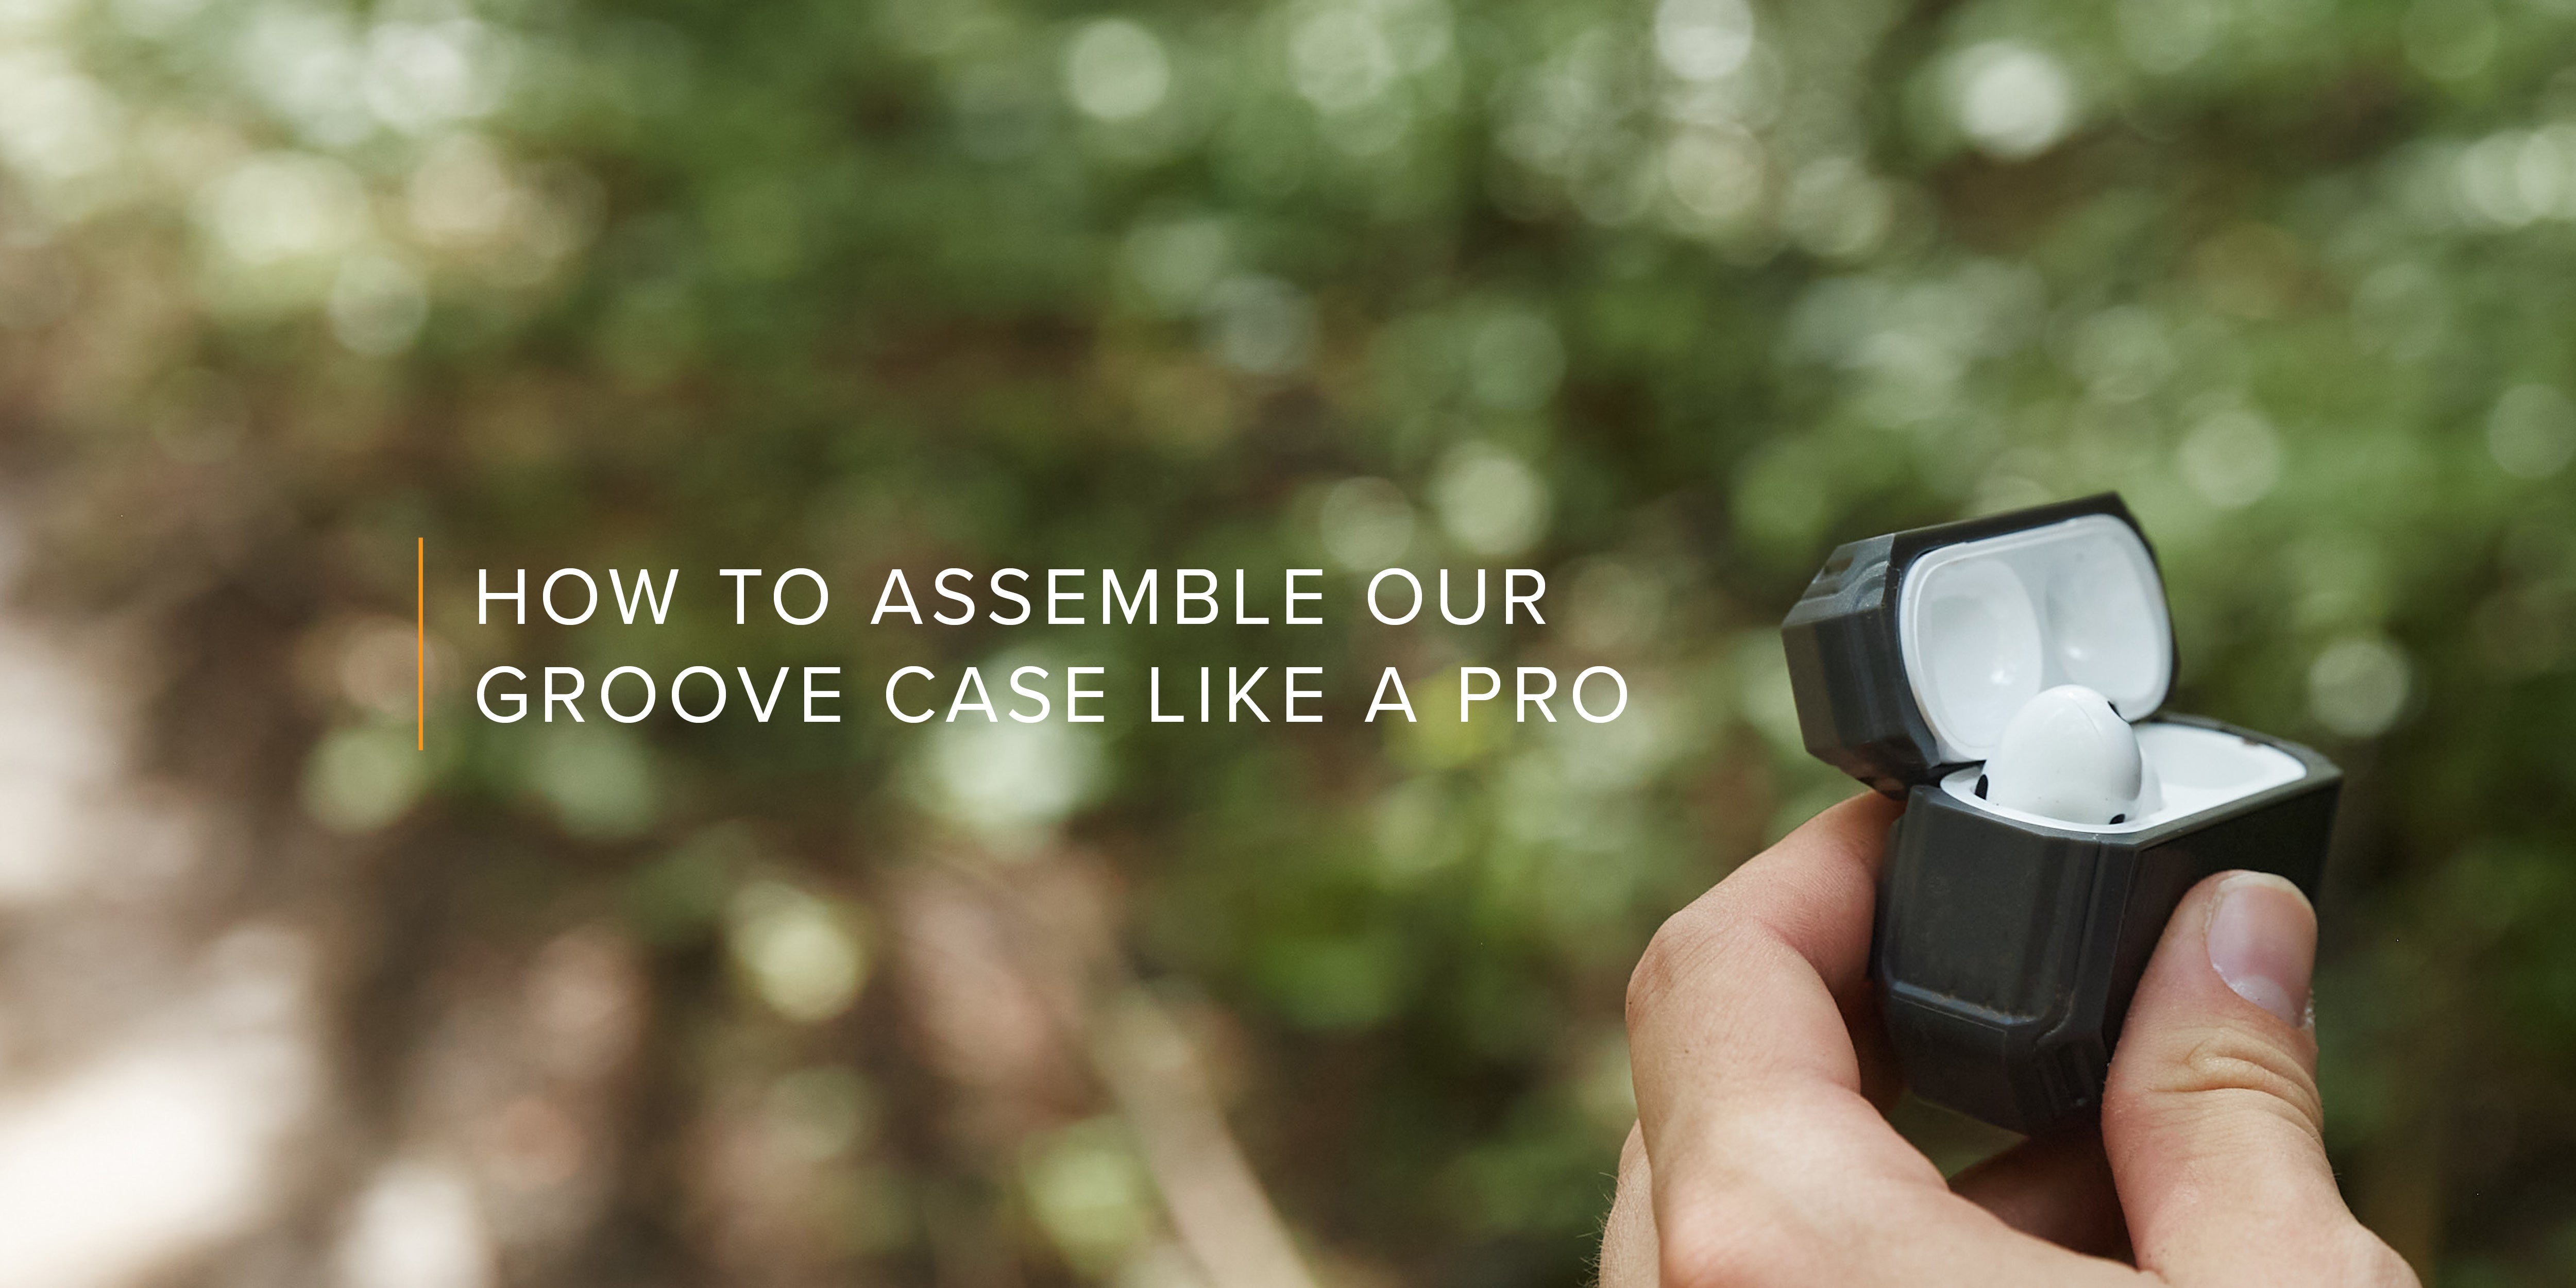
How to Assemble Our Groove Case Like a Pro
Congrats on your new Groove Case™! Get ready to experience the only case you’ll ever need for your AirPods Pro. Our case is rugged, durable, waterproof, and so much more.
If you’re new or just haven’t gotten a Groove Case yet, what are you waiting for? Check out all of the reasons you should have one in our recent blog, “Introducing the Groove Case.”
What to Expect
Maybe you received your Groove Case in the mail and opened up our fancy tin to discover an AirPods Pro Case that was in two pieces. You likely thought, “Oh no, it’s broken!”
Well, before you email us, keep reading.
Your Groove Case should, in fact, arrive in two pieces. Let us guide you through how to assemble your new AirPods case, so you can start listening to those tunes or that new podcast and sporting your new Groove Case like a total pro.
The Pieces
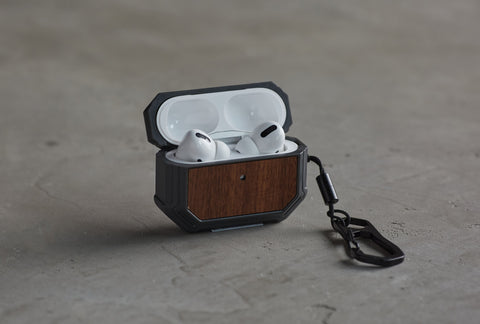
First things first, we want to make sure you have all of the pieces necessary to assemble your new Groove Case.You’ll find that our case arrives in two separate pieces: one thinner, top piece that has our GL logo engraved on it, and a larger, bottom piece, which also holds our detachable carabiner.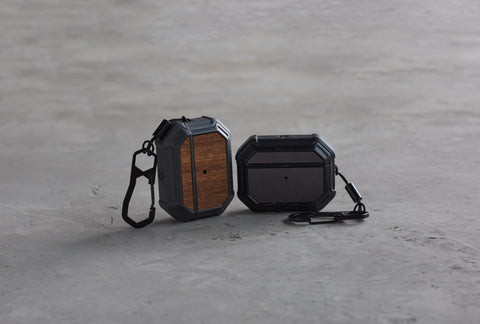
Preparing Your Case
To prepare your Groove Case for your Apple AirPods, first peel off the white tab located inside the smaller, top piece of our Groove Case and discard.
This tab exposes an adhesive that helps the top of your Apple AirPods case stay in place inside of our Groove Case. (But don’t worry, your AirPods can still be removed quickly and easily.)
Next, take the larger, bottom piece of our Groove Case and remove the carabiner from inside.
You’ll find our carabiner is knotted to the side of the case. You can either remove the carabiner at this point, or keep it attached. (Whichever you prefer!)
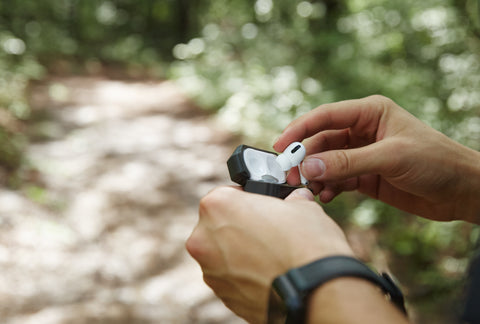
Inserting Your AirPods
With the carabiner set to the side, take your Apple AirPods Pro and ensure the power indicator light at the front of the case is facing you. Next, take the bottom piece of your Groove Case, ensuring the side with the small hole is facing you.
Carefully slide your AirPods into the bottom and firmly press down to ensure you’re able to see your power indicator light through your Groove Case. (If you don’t see the light, open and close the lid of your AirPods case.)
Opening up your AirPods, take the top of your Groove Case, ensuring the GL logo is facing you, and press the top of your AirPods firmly into the Groove Case.
Once the top is securely in your Groove Case, you should now be able to open and close your Groove Case with ease, without the top or bottom coming loose.
(Note: If the top of your Groove Case comes loose when you open your case, it is on backwards. Simply open your Groove Case, turn the top around 180 degrees, and press it firmly back onto your AirPods.)
Ta-da! Your AirPods should now be securely in your Groove Case and ready for use.

How to Remove Your AirPods
Now, we know this is the only case you’ll ever need for your AirPods Pro, but if you ever feel like cleaning or removing our case for any reason, check out this easy-to-follow video we put together, showing you how to remove our case without breaking your AirPods case. (Because we want your case to last for a lifetime!)
And, of course, if you have any questions, email customer support at [email protected] or text us at 1-850-754-7348, and we’ll be happy to assist you.
Groove Life®. Ready for Adventure™.